

I have been wanting a Nativity scene for my front yard ever since I bought the house nearly 6 years ago, but I just haven't found "the one". This year an idea popped into my head one lazy morning as I was laying in bed....could it work? Could I make it easily enough? Why not? :)
So, I tried it....and it did work! I think it looks lovely both day and night too!
During the day, a simple, rustic look:


It wasn't hard to do, but it does take a little patience. First, I purchased the supplies at Home Depot. (I already had the wood stain, nails, and wood screws on hand.)
I used a 4ft x 4ft square of plywood flooring underlay because it is thin, smooth, and inexpensive. You'll also need four 1"x2"x8' furring strips, one 1/2"x10' pvc pipe, 1/2" pvc pipe end caps, and a package of 1/2" pipe brackets.
The overall cost is only ~$15! Not bad at all!

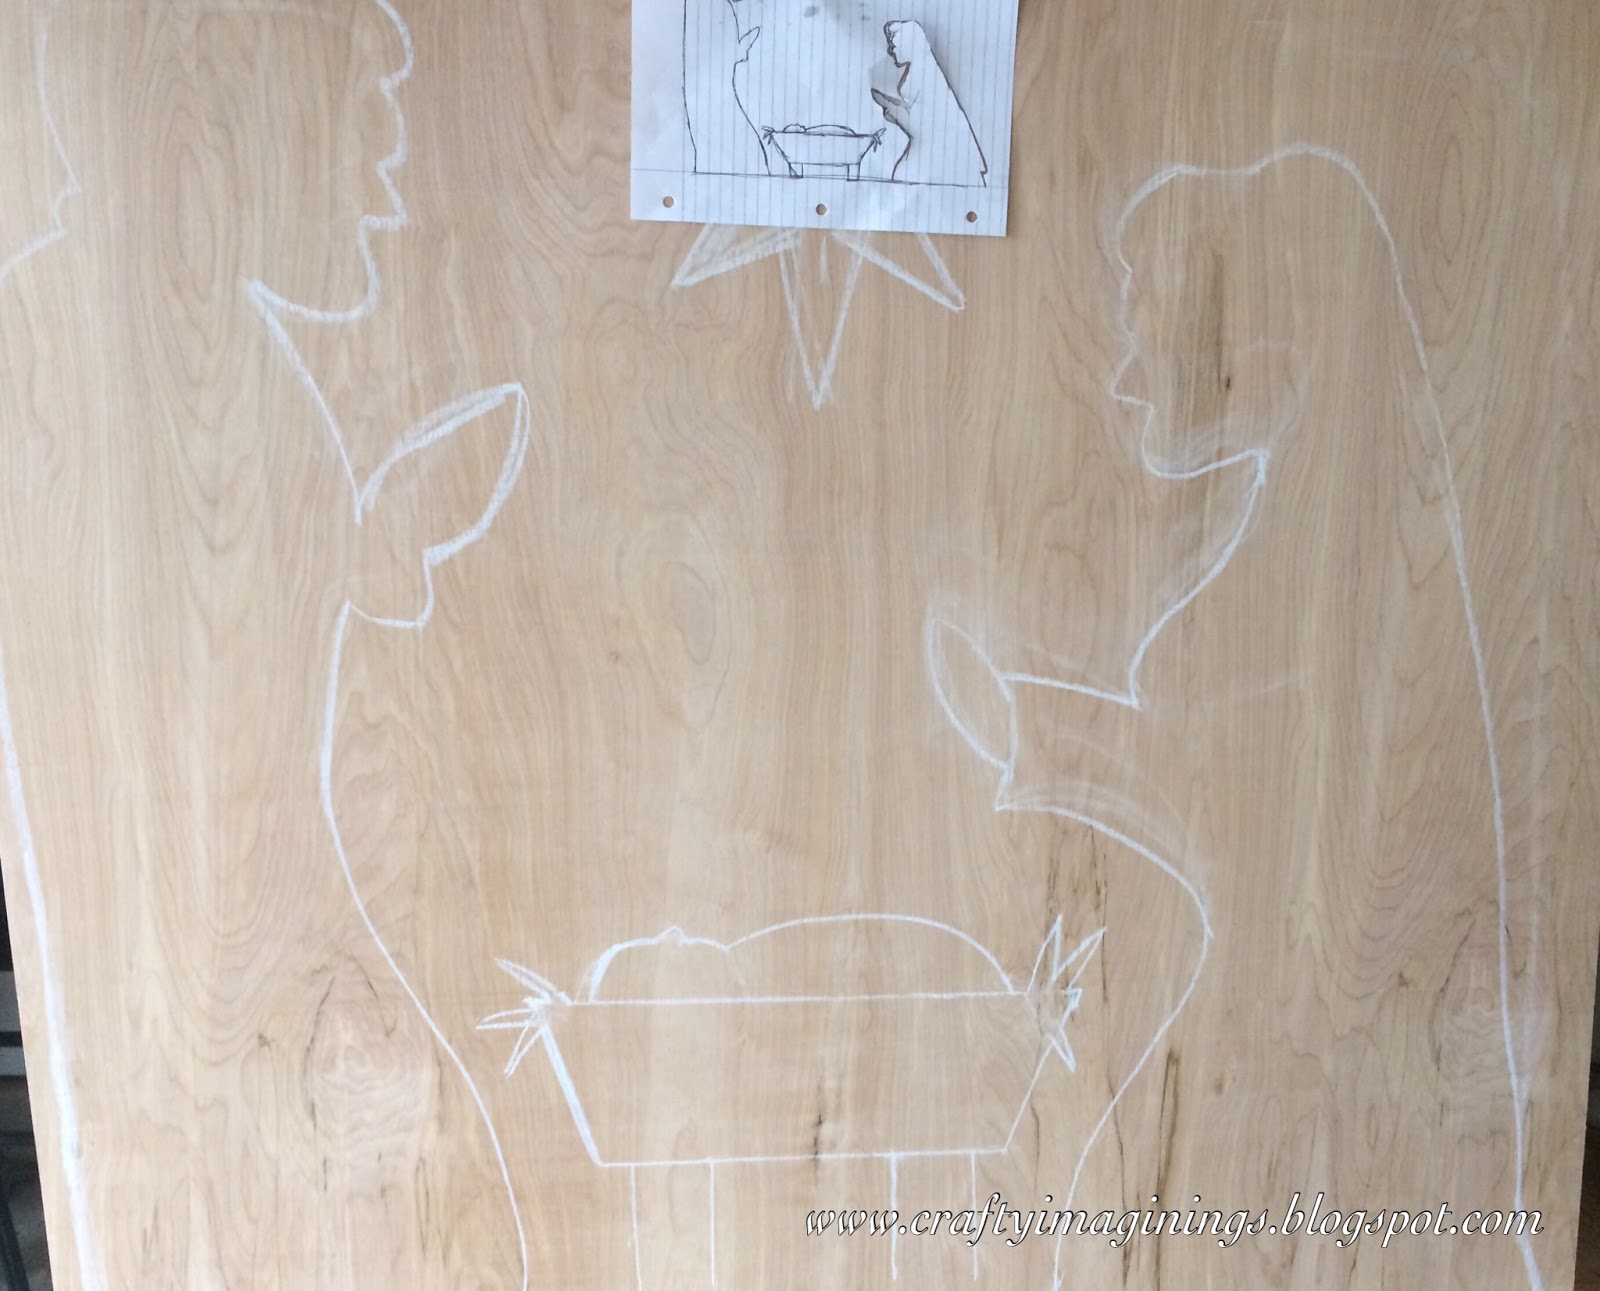
Using a piece of chalk, I sketched my Nativity design onto my plywood square.
Lesson Learned: BE SURE to leave at least 2" on all edges to account for the frame support that will be behind your square....you might want to draw a square that is 2" smaller than your plywood before drawing your figures.
Once happy with the sketch, i used my jigsaw to cut around the figures leaving the bottom intact. The only thing I cut out completely was the star. In order for the Nativity figures to be silhouettes and not full cutouts, you MUST not cut across the bottom! What I did was drill a small hole (just large enough for my jigsaw blade to fit in) at the bottom of each figure as a starting point, then cut along my chalk outlines. I repeated this a second time about 1/4" from the first cut.....this gave it a nice amount of space for light to shine through.


After the cutting was done, I added a simple frame using the 1x2s. Cut them and nail to the back first, then add your frame to the front to finish.

With the frame on, I used MinWax Wood Stain in Espresso (leftover from my Front Porch Bench Project) to stain everything but the figures! Give the whole thing a coat of sealer (for outdoor use) once the stain dries.


In order to make it stand in the yard, I cute my 10ft pvc pipe in half and mounted the two pieces to the back of the frame. Place end caps on top and it easily goes into the ground with a rubber mallet or hammer.


I had my son help me once it got dark to place the spotlight in just the right spot behind it. I love how it turned out! Several friends, family, and neighbors have commented on it already too. (I'm actually building another one by request from a friend this weekend!)

Please be sure to send a pic if you build one!
Merry Christmas!

http://www.myrepurposedlife.com/talk-of-the-town-49/
http://www.gingersnapcrafts.com/2016/12/wow-me-wednesday-286.html
http://www.creativelylivingblog.com/2016/12/monday-funday
http://www.thegirlcreative.com/makers-gonna-make-link-party-no-103/
http://www.niftythriftythings.com/nifty-thrifty-sunday-259/
No comments:
Post a Comment
Thanks so much for commenting! I love reading what you think about my projects, recipes, et cetera.