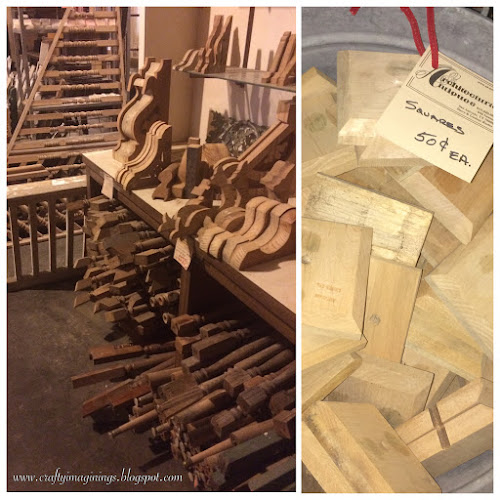
A visit to the Habitat Store yielded some great buys, including a cabinet door for $3 and cabinet panels in various sizes for $1 each!! I bought several and knew some of them would be perfect for porch signs. I used the cabinet door to make a new "welcome" sign last month.
I simply sanded down the finish on the inset and painted it white. I printed my lettering and traced them onto my cabinet door (using chalk on the back of the paper). Hand-painting the letters takes a bit of time but since the letters are fairly large, it went quickly. After the lettering was completely dry, I rubbed a bit of stain on the white paint to give it a more rustic, aged appearance and then roughed-up a few spots with sand paper.
The sign turned out cute and worked great on the porch this Summer! Still needing more of an update though, I saw a lovely bench from Amy at The Idea Room and knew that it was what my porch needed! And since I was building a pretty new bench this past weekend, I figured I'd take the opportunity to replace my old Scripture sign too. One of those $1 panels was the perfect size!
 |
| The panel is actually particle board covered in a wood veneer, but it took the stain and paint beautifully! |
 After the stain was dry, I transferred the vinyl lettering to the panel and put a coat of white paint over the raised front of the panel....excluding the edge (like a built-in frame). When the paint was dry, I rubbed a little bit of stain over the panel using an old soft rag.
I let everything dry a couple of days while I was at work and on my next day off, I was able to peel the vinyl letters off revealing the stain underneath.
I sealed the whole sign with a clear coat and added ring hangers on the back.
It works perfectly on the wall above my new DIY bench. I can hardly wait to decorate for Fall with my new signage and bench!
Have you made anything new lately?
This post is linked to:
http://igottacreate.blogspot.com/2016/08/wildly-original-208-link-party.html
http://tatertotsandjello.com/2016/08/link-party-palooza-and-25-target-giveaway-3.html
http://bec4-beyondthepicketfence.blogspot.com/2016/08/talk-of-town-link-party_23.html


